
This is UltimateRPA Documentation
UltimateRPA Management Console is a web app used to display various measurements (entities) sent from robotic scripts. The Console displays them in a tree structure in the way they are sent from the individual schedulers and the tasks they are running.
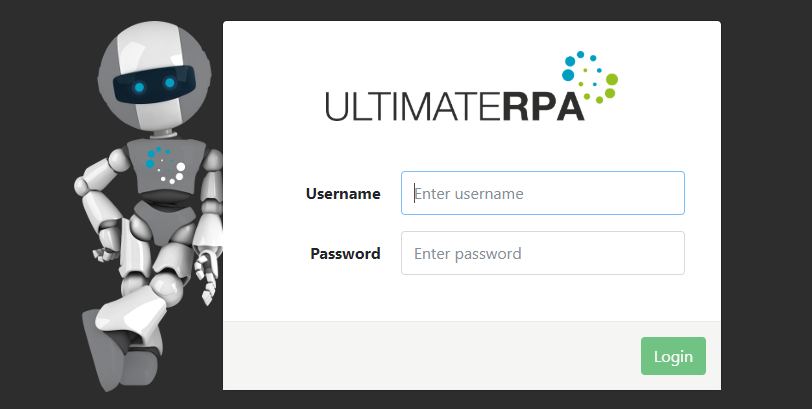
You can log in to the app using the administrator account created during installation. To log in as this user, enter the username admin and the password admin. After you have logged in successfully for the first time, we recommend changing the password.
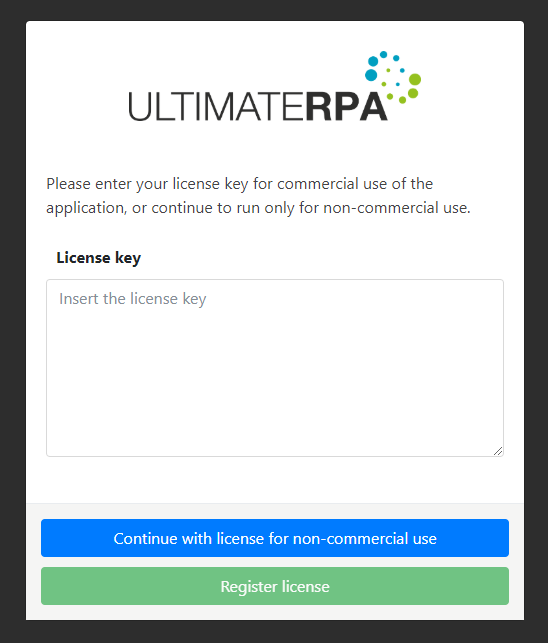
After you log in for the first time, the app will ask for the license type. You can either enter a commercial license or continue to use the app with a non-commercial license.
Use of a non-commercial license is limited by a licensing agreement. After selecting “Continue with a license for non-commercial use”, you can start using the non-commercial product license immediately. In this case, the license selection dialog box will be displayed every time you log in to the app. The bottom right of the screen will also indicate that a non-commercial license is in use.

After clicking on this notification, you can call up a dialog box listing the license type and the licensee.
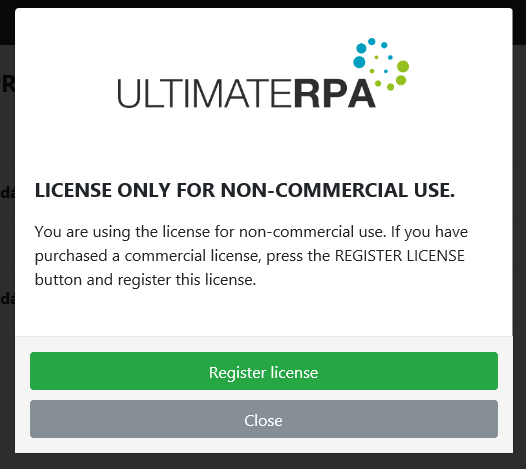
In addition, by selecting Register license, you can go to the license selection and registration dialog box. More information on how to obtain a commercial license can be found in chapter License and Registration.

After a commercial license has been entered, the license notification changes to grey and contains the name of the licensee. After clicking on the notification, additional license details can be displayed.
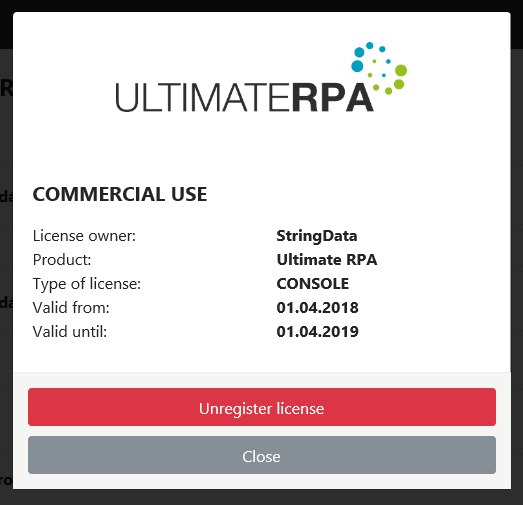
You can use Deregister license to switch back to a non-commercial license at any time. Once you have logged in, the app has up to four pages (depending on the user’s role). You can switch between them using the navigation bar in the upper-left corner of the app.
Overview of app pages:

This is a setup section where you can set the parameters required for the proper functioning of notifications. SMTP server parameters are set here. The SMTP server is then used to send notification emails.
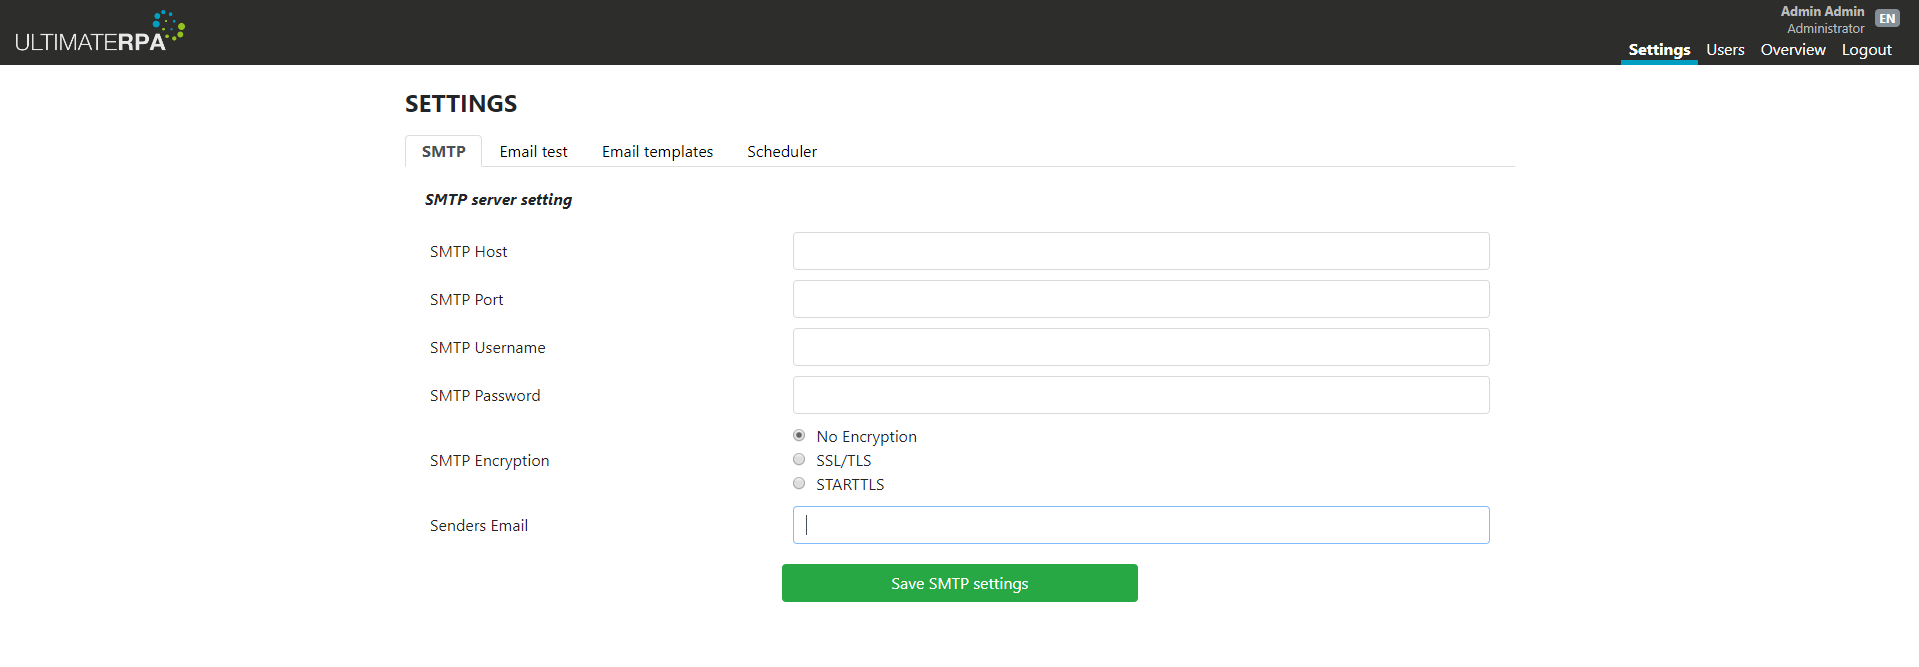
For changes in settings to be incorporated, the settings need to be saved using the button at the end of the form.
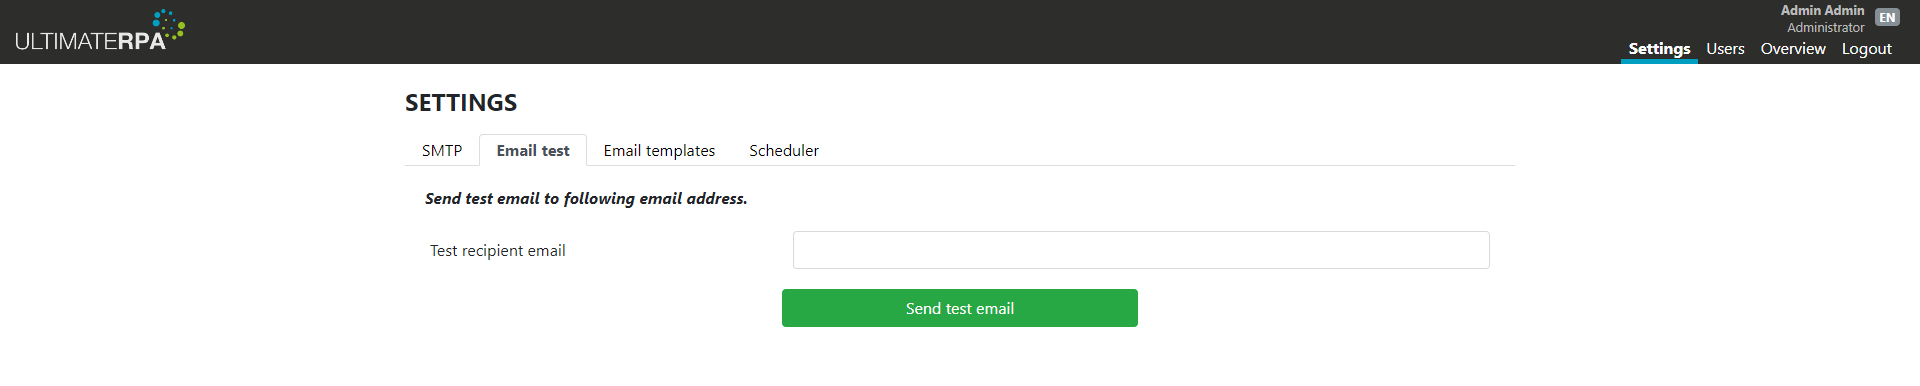
In this settings section, you can verify whether the SMTP server has been properly configured and the alert dispatch feature will work. After you enter an email address and confirm, the app will send the following test email to the address entered:
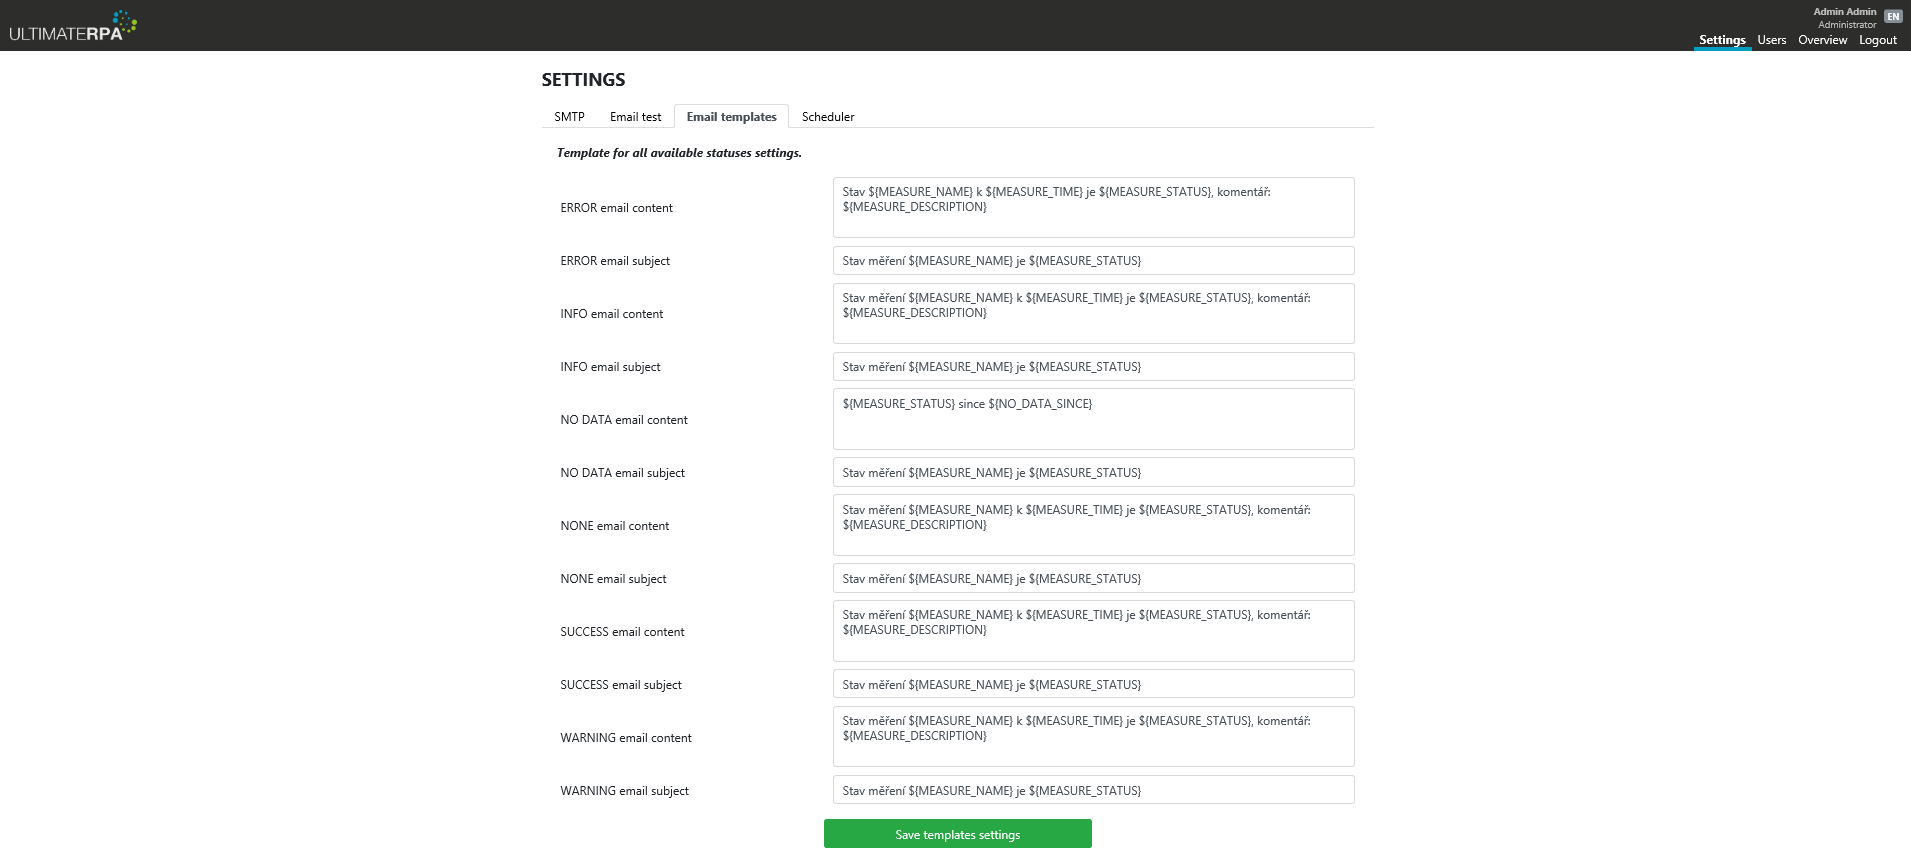
This setting section allows you to set the subject and body of the email that is to be sent as a notification.

The password to be used by scheduler to send data to the Console is set here.

The user with administrator rights can access this section by clicking on the Users tab.

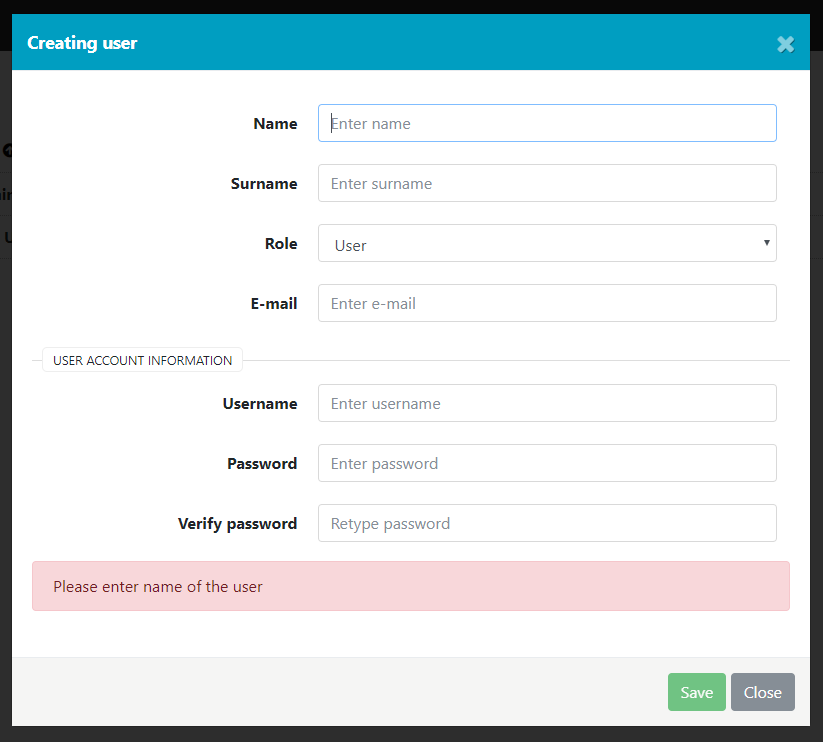
App users can be added and removed here. User roles are also assigned here. These roles may be:
The admin user can add a new user by pressing Create. Users can be deleted by clicking on the trash icon.

The measurement results are written by the robot via write_measure in a directory that needs to be set up in the Scheduler app. The robot checks the contents of this directory at regular intervals and sends the measurement results to the Console. After sending the results, it deletes them from the directory.
After logging in to the application, you can see the individual measurement results after switching to the "Overview" tab. The measurement results are arranged into a tree, where all the leaves are descended from the root of the tree. The name of the tree root is always defined by the name of the Scheduler task, and the individual leaves are named according to the name parameter used to write data via write_measure.
The measurement leaves are filled automatically with the measurements received. Leaves can be deleted manually. All of a tree’s leaves can be hidden by clicking on the tree root.
The following figure shows a measurement detail, describing the individual parts and controls.

| Number | Description | |
|---|---|---|
| 1 | Measurement status | This is the status with which the measurement has ended. Status value from the write_measure function. |
| 2 | Measurement name | Name of actual measurement. Name value from the write_measure function. |
| 3 | Detailed measurement description | Information describing what the actual measurement result was. Description value from the write_measure function. |
| 4 | Actual measurement value | Value from the write_measure function. |
| 5 | Measurement unit | Unit value from the write_measure function. |
| 6 | Measurement date | When the actual measurement was taken. |
| 7 | Measurement history | Possibility of going back to historical measurement values. |
| 8 | Notifications | Notification settings |
| 9 | Deletion of line with measurement |
All possible values that the measurement status may have can be found in the table.
| Icon | Description |
|---|---|

| NO DATA |

| INFO |

| SUCCESS |

| WARNING |

| ERROR |
The worst measurement status below the tree root is propagated in the tree root. In other words, the tree root’s status depends on the worst measurement below it (the lower the measurement in the table below, the worse it is). NO_DATA is a status that cannot be written via write_measure. This status occurs automatically when the measurement data is no longer valid.
| Icon | Description | Action Description |
|---|---|---|

| Measurement history | Display historical measurement value. |

| Notification settings | Setting the notification to the measurement status. After the notification has been confirmed, the envelope changes to black. |

| Deletion of measurement record | Deletion of line with measurement. |
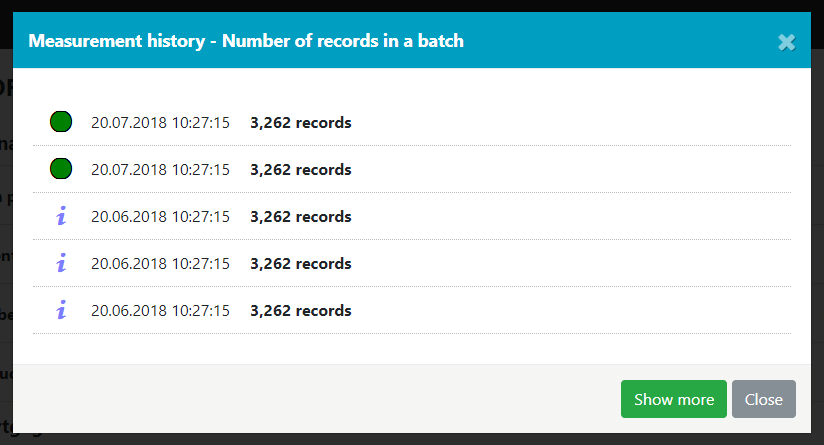
Historical measurement values can be obtained after clicking on the chart icon. The history opens in a new dialog box.
Notifications can be set above each measurement and the statuses needed can be selected here. Clicking on the envelope icon opens the email notification settings form.
Notification settings example
When the next record with this measurement (identifier) comes up and the status set in the notification is met, an email will be sent to the user. The email appearance can be defined in the app settings. After the notification has been confirmed, the envelope turns black.

Example of email delivered
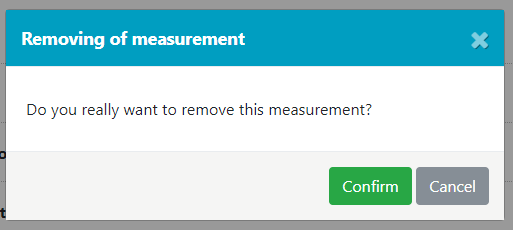
Measurement records can be removed after clicking on the trash icon. Before the deletion is performed, a dialog box appears requiring confirmation of the deletion.
An example of a Python expression for the writing of measurements from the figure. The fifth parameter, which has a value of 744, tells us that the value written will be valid for 744 minutes. If no further measurement with the same identifier comes up by then, the status will be no data.
The result written in the file then looks like this.
The data will be sent to the Console and displayed as follows:
